Quickstart
Dashboard + Server
In this quickstart, we will take a look at a minimum ASP.NET Core application that hosts both the Elsa Dashboard component as well as the Elsa Server API endpoints.
We will:
- Create an ASP.NET Core application.
- Configure a persistence provider with EF Core and the SQLite provider.
- Register various activities for use in workflows.
- Expose the Elsa API Endpoints for consumption by external applications (including the Elsa Dashboard).
- Install the Elsa Dashboard component.
- Create a simple workflow using the designer.
The Project
Create a new, empty ASP.NET Core project called ElsaQuickstarts.Server.DashboardAndServer:
dotnet new web -n "ElsaQuickstarts.Server.DashboardAndServer"
CD into the created project folder:
cd ElsaQuickstarts.Server.DashboardAndServer
Add the following packages:
dotnet add package Elsa
dotnet add package Elsa.Activities.Http
dotnet add package Elsa.Activities.Temporal.Quartz
dotnet add package Elsa.Persistence.EntityFramework.Sqlite
dotnet add package Elsa.Server.Api
dotnet add package Elsa.Designer.Components.Web
Startup
Open Startup.cs and replace its contents with the following:
using Elsa;
using Elsa.Persistence.EntityFramework.Core.Extensions;
using Elsa.Persistence.EntityFramework.Sqlite;
using Microsoft.AspNetCore.Builder;
using Microsoft.AspNetCore.Hosting;
using Microsoft.Extensions.Configuration;
using Microsoft.Extensions.DependencyInjection;
using Microsoft.Extensions.Hosting;

namespace ElsaQuickstarts.Server.DashboardAndServer
{
    public class Startup
    {
        public Startup(IWebHostEnvironment environment, IConfiguration configuration)
        {
            Environment = environment;
            Configuration = configuration;
        }

        private IWebHostEnvironment Environment { get; }
        private IConfiguration Configuration { get; }

        public void ConfigureServices(IServiceCollection services)
        {
            var elsaSection = Configuration.GetSection("Elsa");

            // Elsa services.
            services
                .AddElsa(elsa => elsa
                    .UseEntityFrameworkPersistence(ef => ef.UseSqlite())
                    .AddConsoleActivities()
                    .AddHttpActivities(elsaSection.GetSection("Server").Bind)
                    .AddQuartzTemporalActivities()
                    .AddWorkflowsFrom<Startup>()
                );

            // Elsa API endpoints.
            services.AddElsaApiEndpoints();

            // For Dashboard.
            services.AddRazorPages();
        }

        public void Configure(IApplicationBuilder app)
        {
            if (Environment.IsDevelopment())
            {
                app.UseDeveloperExceptionPage();
            }

            app
                .UseStaticFiles() // For Dashboard.
                .UseHttpActivities()
                .UseRouting()
                .UseEndpoints(endpoints =>
                {
                    // Elsa API Endpoints are implemented as regular ASP.NET Core API controllers.
                    endpoints.MapControllers();

                    // For Dashboard.
                    endpoints.MapFallbackToPage("/_Host");
                });
        }
    }
}
Notice that we're accessing a configuration section called "Elsa". We then use this section to retrieve sub-sections called "Server". Let's update appsettings.json with these sections next:
Appsettings.json
Open appsettings.json and add the following section:
{
  "Elsa": {
    "Server": {
      "BaseUrl": "https://localhost:5001"
    }
  }
}
The reason we are setting a "base URL" is because the HTTP activities library provides an absolute URL provider that can be used by activities and workflow expressions. Since this absolute URL provider can be used outside the context of an actual HTTP request (for instance, when a timer event occurs), we cannot rely on e.g.
IHttpContextAccessor, since there won't be any HTTP context.
_Host.cshtml
Notice that the application will always serve the _Host.cshtml page, which we will create next.
- Create a new folder called
Pages. - Inside
Pages, create a new file called_Host.cshtml.
Add the following content to _Host.cshtml:
@page "/"
@{
var serverUrl = $"{Request.Scheme}://{Request.Host}";
}
<!DOCTYPE html>
<html lang="en">
<head>
    <meta charset="utf-8"/>
    <meta name="viewport" content="width=device-width, initial-scale=1.0"/>
    <title>Elsa Workflows</title>
    <link rel="icon" type="image/png" sizes="32x32" href="/_content/Elsa.Designer.Components.Web/elsa-workflows-studio/assets/images/favicon-32x32.png">
    <link rel="icon" type="image/png" sizes="16x16" href="/_content/Elsa.Designer.Components.Web/elsa-workflows-studio/assets/images/favicon-16x16.png">
    <link rel="stylesheet" href="/_content/Elsa.Designer.Components.Web/elsa-workflows-studio/assets/fonts/inter/inter.css">
    <link rel="stylesheet" href="/_content/Elsa.Designer.Components.Web/elsa-workflows-studio/elsa-workflows-studio.css">
    <script src="/_content/Elsa.Designer.Components.Web/monaco-editor/min/vs/loader.js"></script>
    <script type="module" src="/_content/Elsa.Designer.Components.Web/elsa-workflows-studio/elsa-workflows-studio.esm.js"></script>
</head>
<body>
<elsa-studio-root server-url="@serverUrl" monaco-lib-path="_content/Elsa.Designer.Components.Web/monaco-editor/min">
    <elsa-studio-dashboard></elsa-studio-dashboard>
</elsa-studio-root>
</body>
</html>
Run
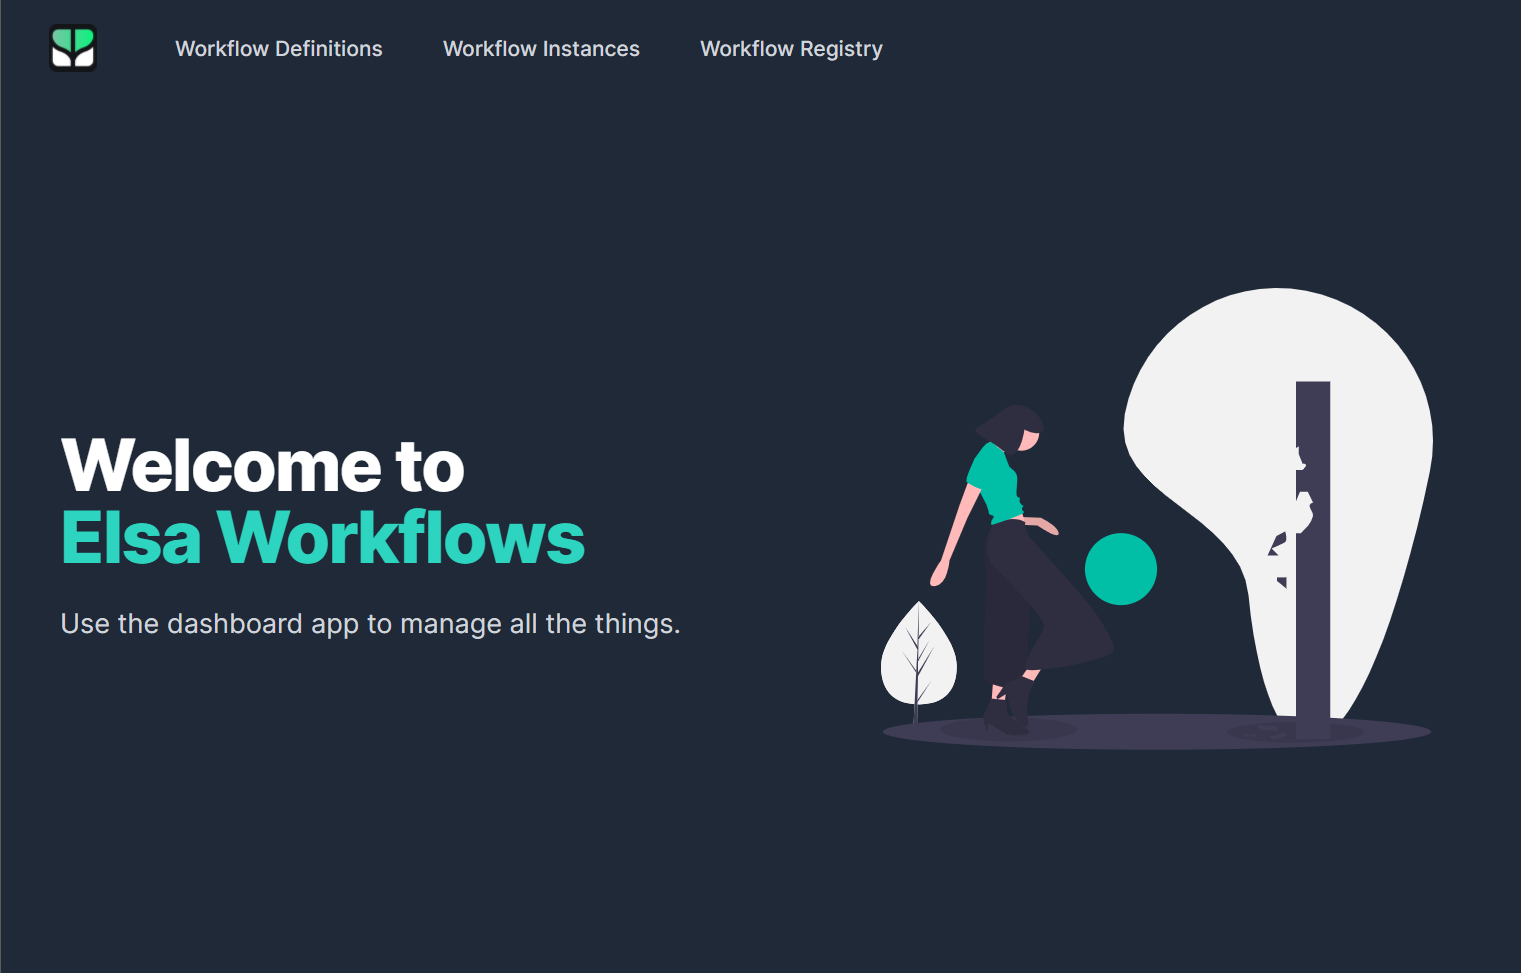
Run the program and open a web browser to the home page:

Because we configured the <elsa-studio-root> element with a valid URL to a running Elsa server (which is the same application hosting the dashboard), we can click around the menu. Let's create a workflow next.
The Workflow
Navigate to the Workflow Definitions page and click the Create Workflow button. We are now on the workflow designer canvas. Click the green Start button to open the Activity Picker and search for the HTTP Endpoint activity and select it.
The next screen presents the available settings for the activity. Specify the following values:
- Path:
/hello-world - Methods:
GET
And click the Save button.
We are now back in the designer which shows the HTTP Endpoint activity we just added. The activity has a single outcome called Done. Click on the plus button below it to add and connect another activity to this outcome. The activity picker shows up again. This time, search for the HTTP Response activity and select it.
The next screen presents the available settings for the activity. Specify the following values:
- Status Code:
OK - Content:
<h1>Hello World!</h1> - Content Type:
text/html
And click the Save button.
Finally, let's give our workflow a name. From the designer, you'll find a cog-wheel button at the top-right of the screen. Click it to open the workflow settings and provide the following values:
- Name: HelloWorld
- Display Name: Hello World
Leave the rest to their defaults and click the Save button.
Back on the designer, click the Publish button on the bottom-right of the screen. The workflow is now published and ready to be invoked!
We'll try out the workflow in a second. Here's an animation that shows the above steps:
. Until that issue is resolved, simply refresh the web page (press F5). The workflow should now render properly.
Execute Workflow
Since the workflow starts with an HTTP Endpoint activity configured to listen for HTTP GET requests at /hello-world, we can open a new web browser tab and navigate to https://localhost:5001/hello-world.
![Elsa Workflows Hello World workflow](assets/quickstarts/quickstarts-aspnetcore-server-dashboard-and-api-endpoints-figure-1.png" /%}
Next Steps
You are now well on your way to mastering Elsa Workflows! We've seen how to setup an ASP.NET Core project that hosts both the Elsa Dashboard as well as the Elsa Server API Endpoints.
Next steps will be to learn more about the various activities available to you, how to configure them with workflow expressions, and how to develop your own activities.
- [Activities overview]
- [Workflow expressions]
- [Custom Activities]